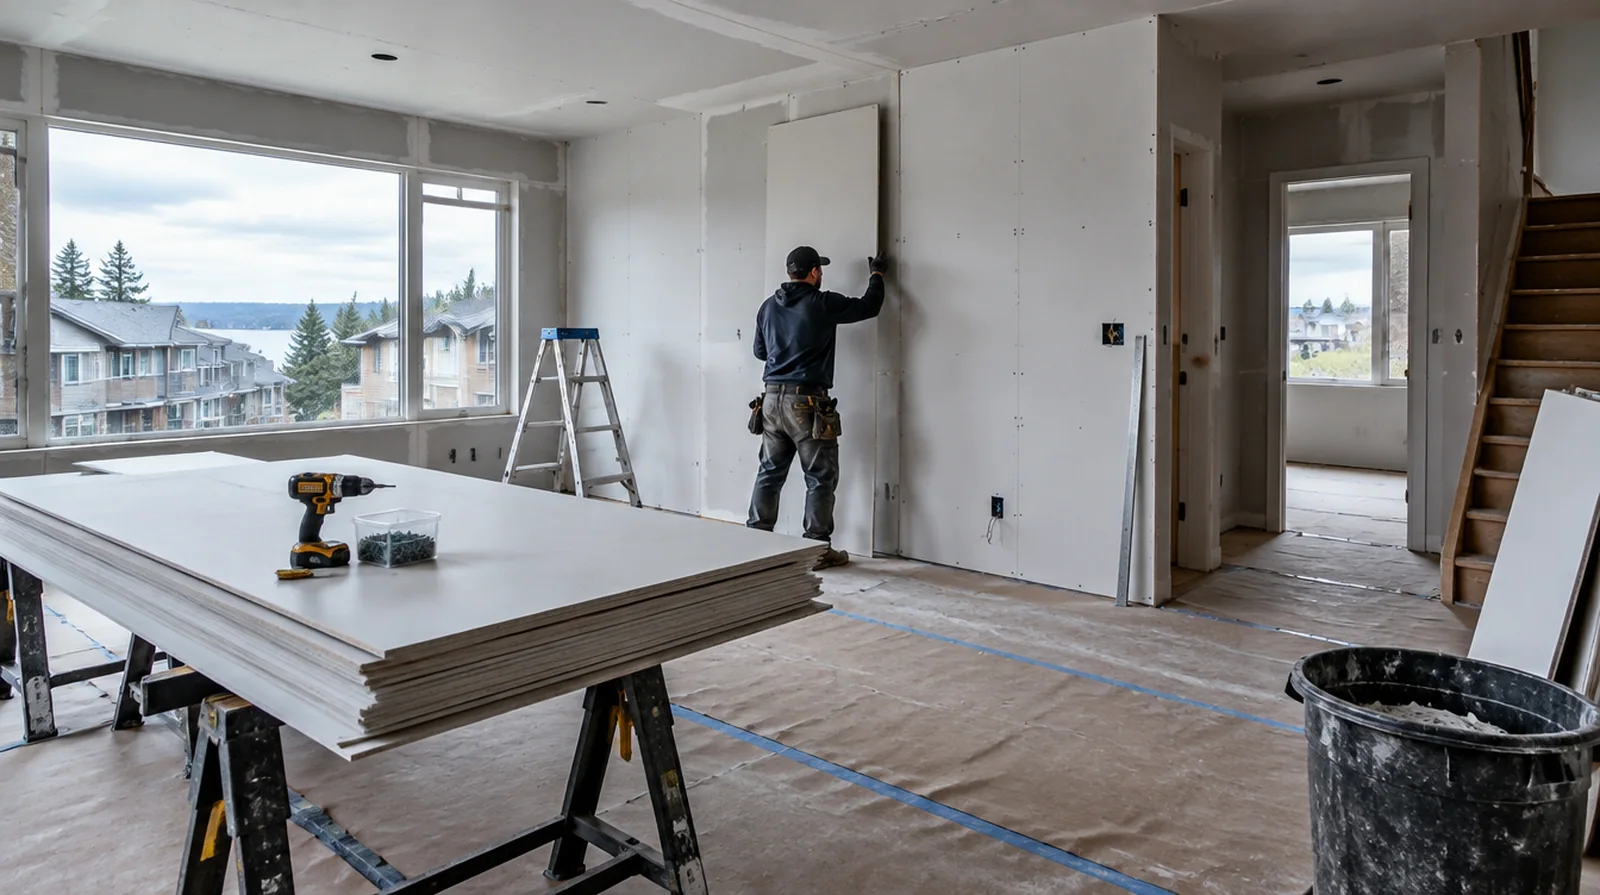
Confirm concealed work
Wiring, plumbing and insulation inspections could have to happen before the cavity is closed. Photographs and a written readiness check help avoid opening a newly installed wall later. At the handover inspection, review the finish from ordinary room positions using the lighting conditions that were agreed for the work.
Control fastening depth
Fasteners should hold the board firmly without tearing through the face paper. Repair overdriven fixings or inadequate edge support instead of expecting finishing coats to conceal those defects. For a surface that will receive wall covering, share the product requirements early so the finishing stage supports the planned decorative treatment.
Measure the complete assembly
Calculate the board layout from all the surfaces and openings instead of the space floor area alone. A measured layout helps reduce narrow infill strips and avoidable joints around doors. If a household member is sensitive to dust, discuss containment and cleaning expectations before choosing how to stage the space work.
Define the finish level
A proposal should distinguish attached panels from a completed finish prepared for decorative coatings. Strong side lighting or a glossy coating can justify more extensive finishing than a utility room. Where a neat final edge matters, agree whether the finish ends against existing trim or whether that trim will be removed and replaced.
Treat perimeter details
Connections to adjoining surfaces are part of the wall detail, not merely decorative gaps. Fire or acoustic requirements could change which sealants and perimeter treatments are appropriate. When a wall has repeated defects, keep a record of earlier repair attempts so a new assessment does not simply repeat an unsuccessful approach.
Sequence the finishing work
Joint treatment needs suitable conditions within the room and time between coats instead of a rushed pass over damp material. Talk through how ventilation and access will be maintained while other renovation work continues. Where several contractors share the renovation, identify the inspection and handover milestones that determine when each following stage can proceed.
Inspect before decoration
The most useful final review happens after the surface is dry and before cabinets or wall coverings hide the edges. Check the agreed lighting conditions and record any remaining preparation before painting starts. When a paint contractor follows the drywall work, define the surface condition being handed over and decide who handles any minor final touch ups.
Lay out the joints
Arrange supported sheet edges and joint positions with the openings and final finish in mind. A sensible panel pattern makes both the fastening stage and the later joint treatment more straightforward. If the interior will remain occupied, identify a practical separation between the work area and the space that still needs daily access.
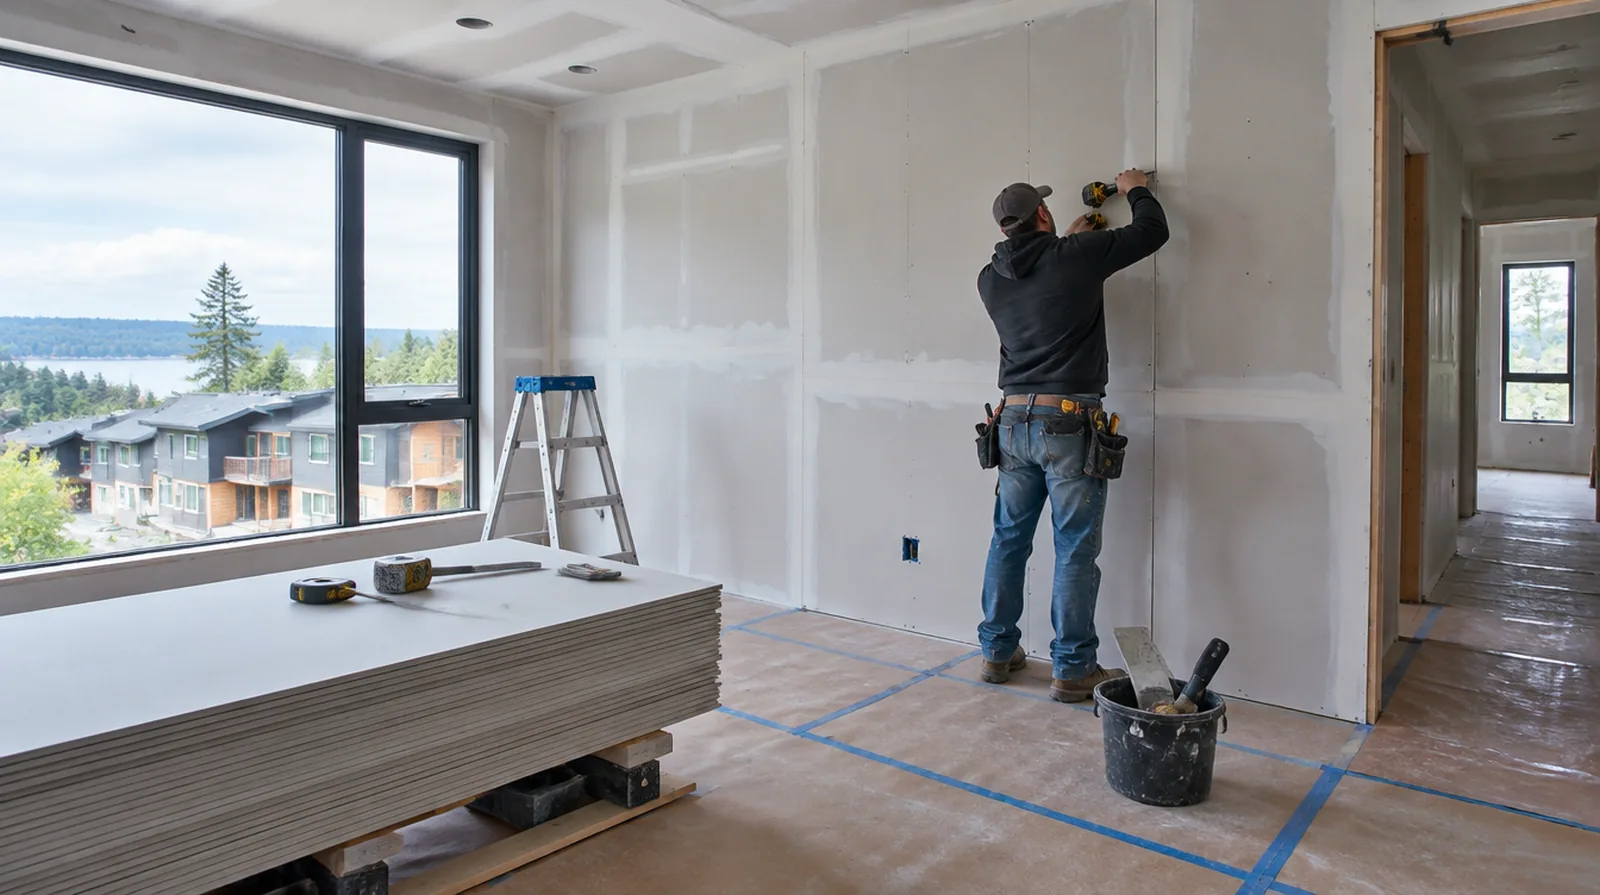
Select appropriate panels
Choose sheet thickness and panel properties to suit the specified assembly and the intended location. Moisture resistant board is not a substitute for a required waterproofing system in a wet area. If the wall work belongs to a broader renovation, coordinate its order with flooring, cabinetry and trim instead of scheduling finishing in isolation.
Plan deliveries and access
Sheet dimensions need to suit the available stairs, doors and handling space as well as the finished wall. Difficult access can change labor and waste even when the interior itself is relatively small. When a wall has repeated defects, keep a record of earlier repair attempts so a new assessment does not simply repeat an unsuccessful approach.
Project context in Kirkland
Skylights over Kirkland stairwells throw strong light down long walls and reveal small joint flaws. Shared driveways in Kirkland townhouse developments mean deliveries need a time that keeps neighbors moving.
Scope questions before finishing
If the surface condition is uncertain, allow for an assessment that can distinguish stable material from layers that should never be covered.
For a room that stays in use, set a workable boundary around construction while retaining the access people need for normal daily activities.
If a household member is sensitive to dust, discuss containment and cleaning expectations before choosing how to stage the space work.
For walls beside bright windows, review a dry sample from an oblique angle as well as looking straight at the repaired surface.
Where the quoted work stops before painting, request a well defined description of what remains so the next decorating stage can be priced realistically.
When more damage could be hidden, ask how any added scope will be documented before extra material is removed or replaced.
At an edge beside built in furniture, state whether the obstruction will be removed or whether finishing stops at the section that can be reached.
At a surface receiving strong window light, review a dried trial from the side in addition to the normal straight view of the wall surface.
If a separate painter completes decoration, agree the condition of the handed over surface and assign responsibility for small final corrections.
At a ceiling or wall containing fittings, assign removal and reinstatement duties for the affected devices before repair access is needed.
For a surface that will receive wall covering, share the product requirements early so the finishing stage supports the planned decorative treatment.
When the work area includes a doorway, check the clearance for panel movement as well as the amount of space available for finishing tools.
Explore the Kirkland drywall overview for related options, or read the project planning information before arranging the next stage.
More planning details for Kirkland
Condensation around an older skylight can stain the drywall return, so the moisture source should be checked first. Kirkland's long rainy season keeps indoor air damp, so steady heat and a dehumidifier help compound dry between coats. Board should be carried in quickly and kept dry on a rainy Kirkland day before it is hung.