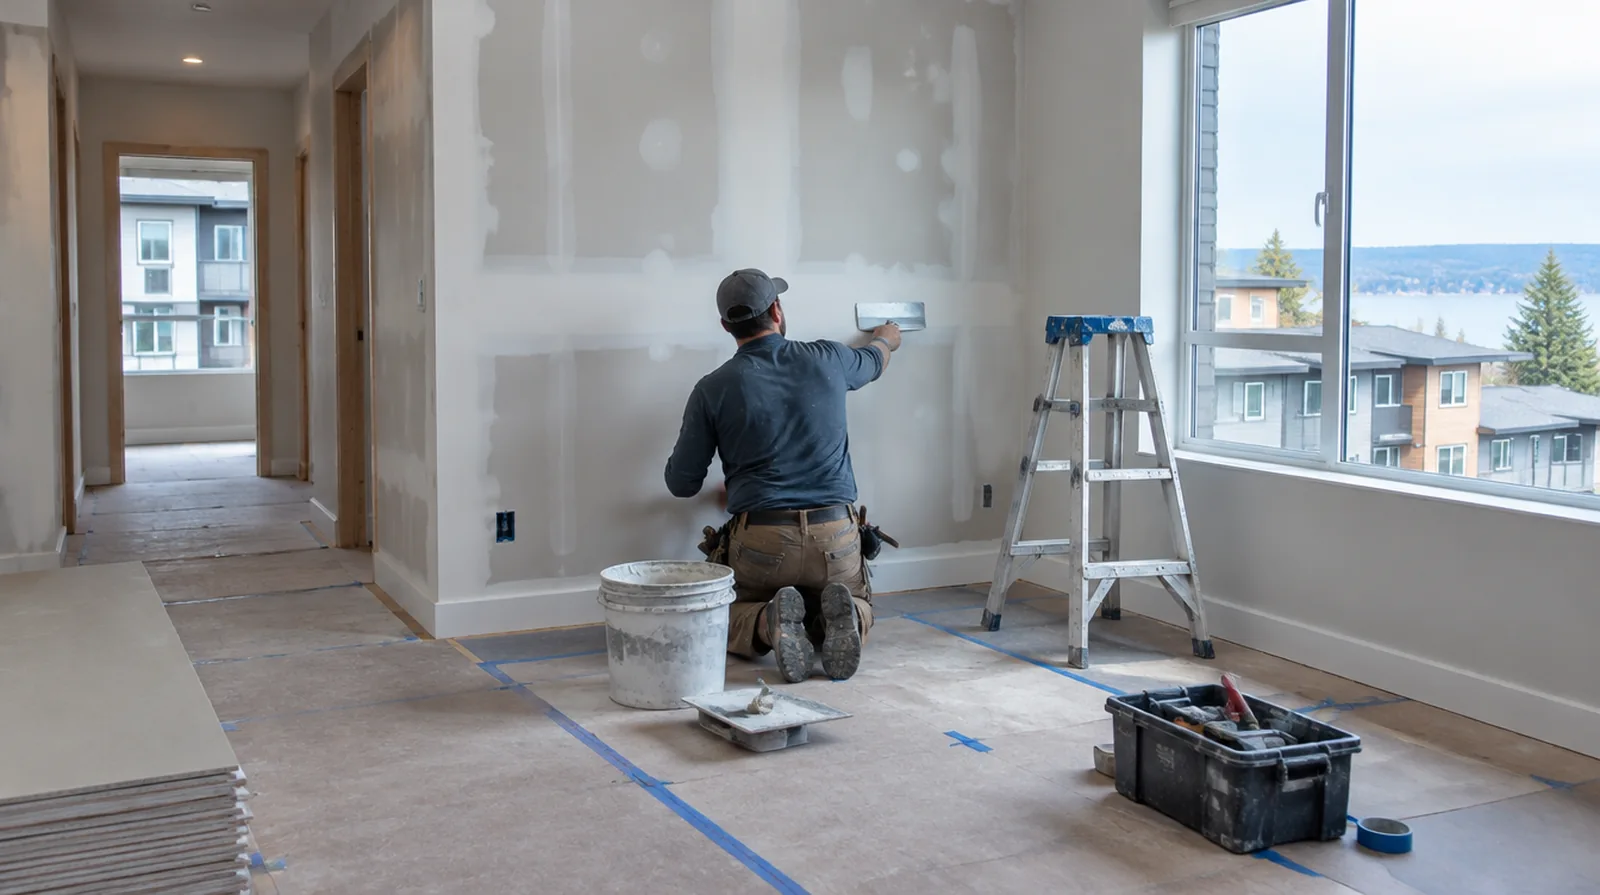
Document recurring movement
A crack that repeatedly reappears may need the cause investigated before more cosmetic work. State any moisture or movement concerns that another professional must resolve ahead of the drywall repair. If the wall work belongs to a broader renovation, coordinate its order with flooring, cabinetry and trim rather than scheduling finishing in isolation.
Feather beyond the opening
The noticeable finishing area usually extends farther than the hole because a gradual taper hides the repair edge. The gradual transition is especially important where a window lights the surface from the side. For a surface carrying numerous paint layers, discuss whether differences in the retained profile or sheen justify decorating a broader area.
Build thin finishing coats
Several controlled applications are typically easier to flatten than one deep deposit of joint compound. Each layer needs sufficient drying time before the next pass can be judged accurately. Where several contractors share the renovation, identify the inspection and handover milestones that determine when each following stage can proceed.
Support the replacement
A substantial hole is normally rebuilt with board and proper support, not filled entirely with finishing material. The replacement panel thickness should match the original face so the joint can finish level. For a limited patch requiring substantial setup, assess the complete package of access and protection rather than relating cost only to the opening size.
Choose the patch boundary
Loose paper and crumbling gypsum must be removed until the surrounding panel can support a durable repair. A tidy rectangular cut often provides stronger backing than following an irregular broken edge. If access passes through a shared space, arrange protection and a delivery route that do not unnecessarily obstruct other occupants.
Prepare for primer
The absorbency of fresh drywall finishing material differs from that of the painted surface beside it. Establish whether suitable primer is part of the repair or will be applied by another contractor. When the wall surface has strong reflected light, look at the full plane instead of judging only the narrow strip immediately beside the patch.
Handle small fastener marks
A noticeable screw or nail bump can indicate movement between the board and its supporting framing. Correct the fastening condition as needed before covering the mark with a new finishing coat. When the project space includes a doorway, check the clearance for panel movement as well as the amount of space available for finishing tools.
Reinforce panel seams
The connection between old board and a patch needs reinforcing joint treatment. Embed the chosen tape fully in its intended compound so the edges bond without bubbles. If the coating stability is unclear, assess which layers are adequately bonded and which should be removed rather than simply hidden beneath new material.
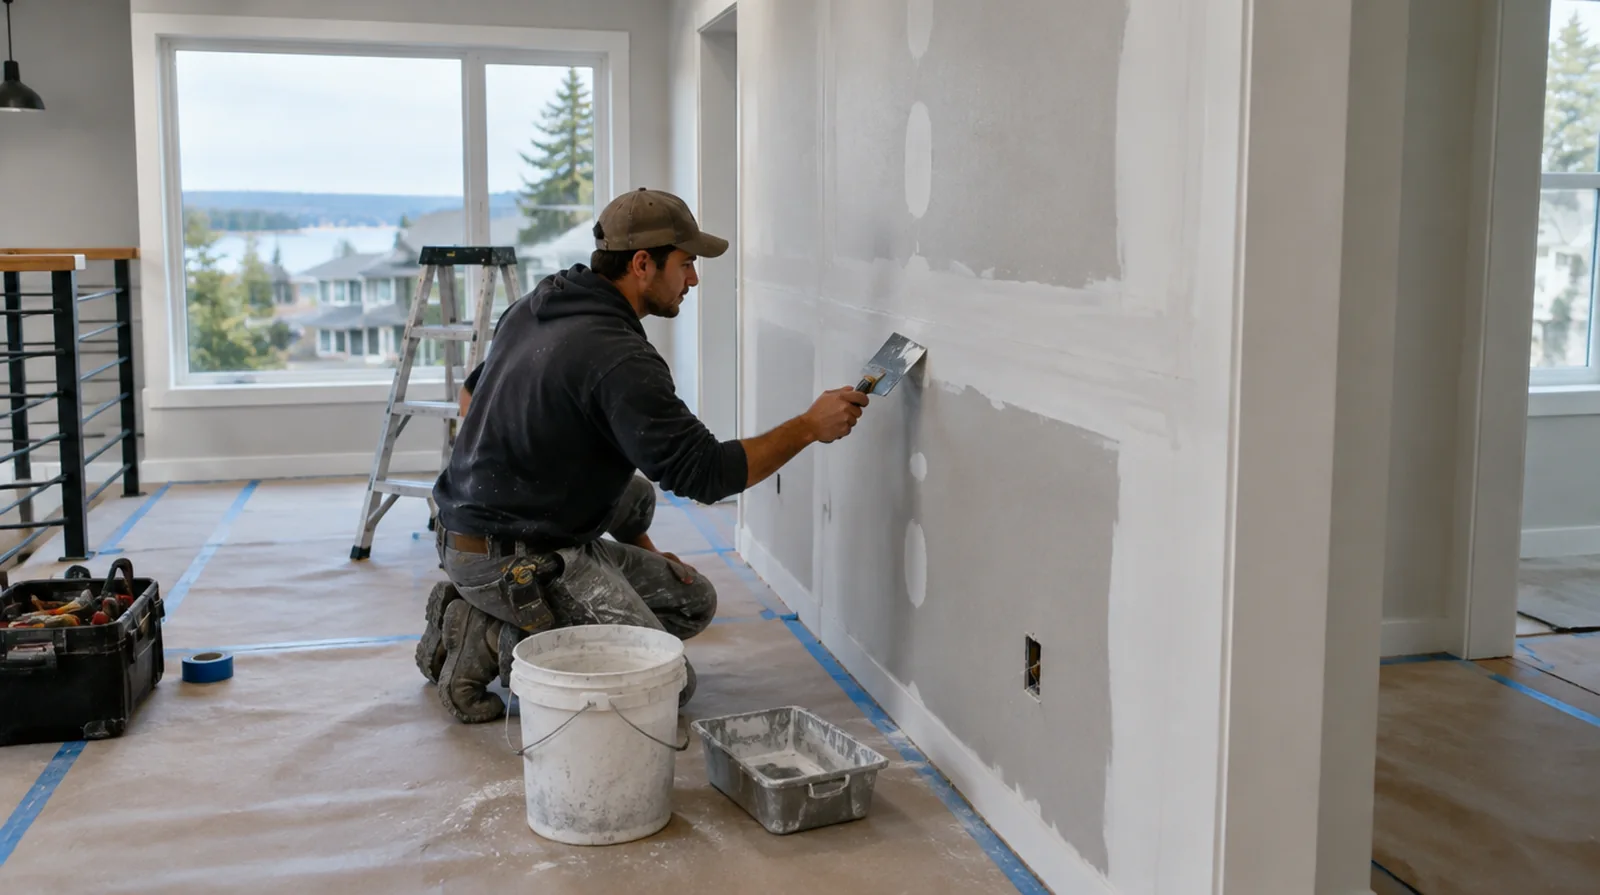
Review with side lighting
A patch that looks flat from the doorway may still show a small hollow under a nearby window. Checking from more than one angle helps separate surface imperfections from differences in coating sheen. If the problem developed after another renovation, explain which nearby materials or building systems changed before the damage became noticeable.
Set the paint boundary
An old paint coating may not accept an inconspicuous local touch up even after a flat repair. Consider a corner to corner decorative boundary when color or sheen differences would otherwise remain noticeable. Where a future fixture will be installed, coordinate any required backing while the cavity is accessible rather than reopening the completed wall.
Project context in Kirkland
A stairwell repair over three flights needs safe access that protects the stair treads and railings. Afternoon traffic on I-405 makes morning visits easier for second and third coats in Kirkland.
Scope questions before finishing
When panel replacement exposes a cavity, resolve any required inspection before that opening is closed and the finishing work begins.
At an edge beside built in furniture, state whether the obstruction will be removed or whether finishing stops at the section that can be reached.
If the surface condition is uncertain, allow for an assessment that can distinguish stable material from layers that ought not to be covered.
If the proposal requires return visits, identify the purpose of each stage and the intervals during which finishing material needs to remain undisturbed.
If the coating stability is unclear, assess which layers are adequately bonded and which should be removed instead of simply hidden beneath new material.
If the project is part of a larger remodel, settle the sequence with flooring, trim and cabinet work before setting a final finishing date.
If access passes through a shared space, arrange protection and a delivery route that do not unnecessarily obstruct other occupants.
If the ceiling or wall includes fittings, identify the person responsible for removing and reinstalling each item before the work begins.
Where occupants have dust sensitivity concerns, agree containment and cleaning measures before settling the way the space will be staged.
In a room with little free floor space, identify temporary storage for belongings and establish enough clearance for the work before delivery.
Where several contractors share the renovation, identify the inspection and handover milestones that determine when each following stage can proceed.
If scheduling is the main concern, separate hands on labor from drying intervals instead of treating every visit as a full day of active work.
Explore the Kirkland drywall overview for related options, or read the project planning information before arranging the next stage.
More planning details for Kirkland
Board should be carried in quickly and kept dry on a rainy Kirkland day before it is hung. Painting the whole stairwell wall after a repair gives a more even finish under skylight glare. Many new Kirkland homes have smooth Level 5 walls, which leave little room for visible patch edges.