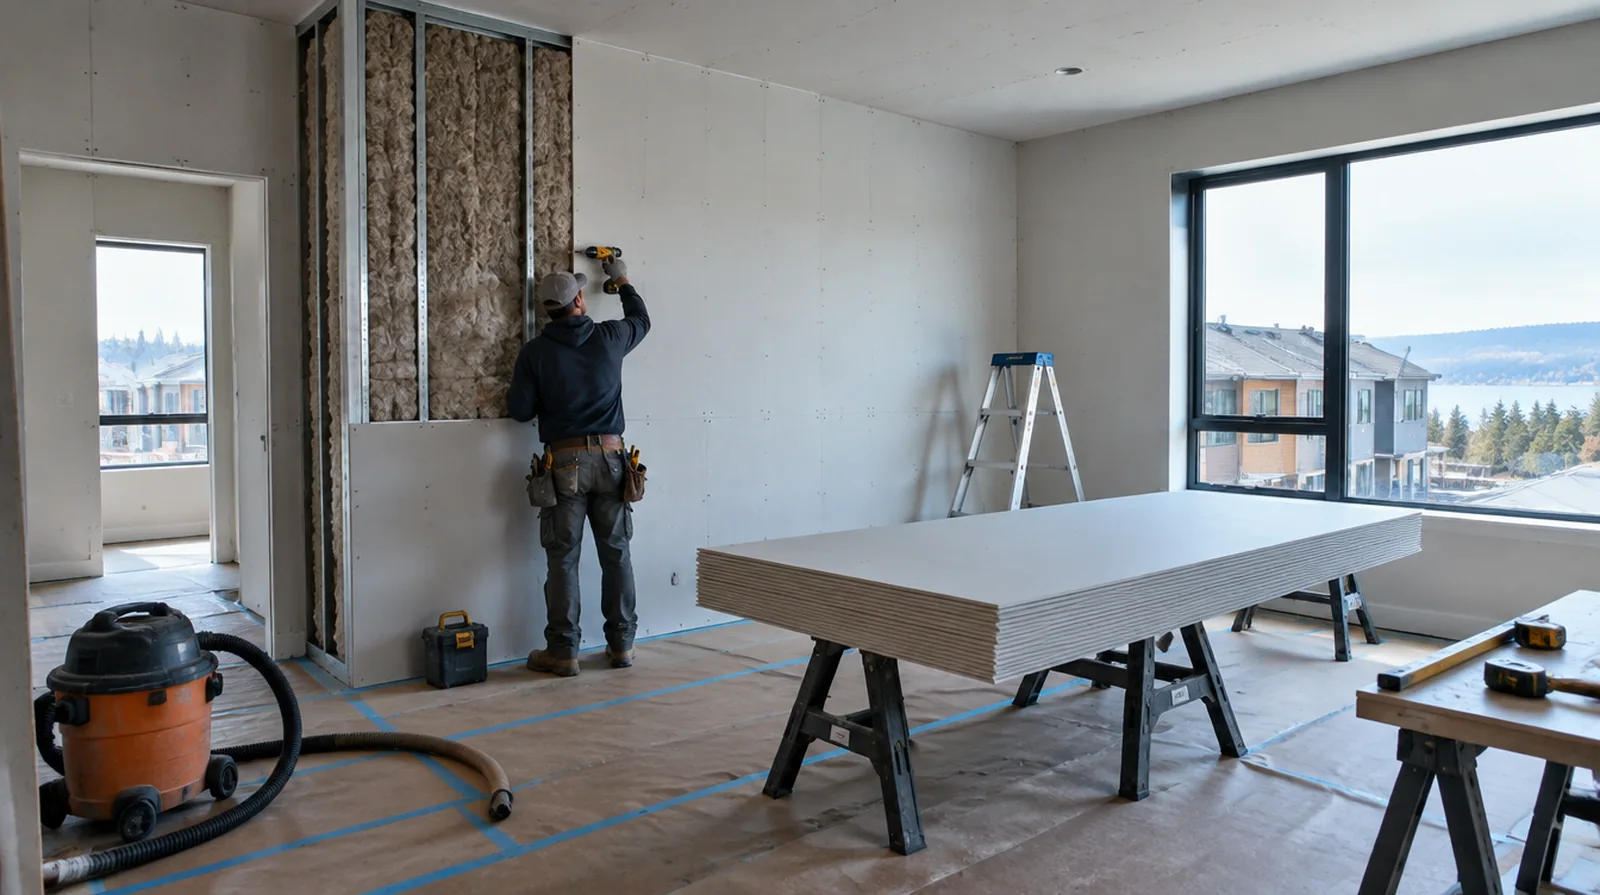
Avoid rigid bridges
An unintended rigid connection can reduce the value of a resiliently supported surface. Check fastener and attachment details against the system guidance instead of judging only the noticeable wall. When comparing competing estimates, make sure their protection, surface finish and disposal allowances describe equivalent work before comparing the final prices.
Evaluate added thickness
Additional board layers can influence trim, outlets and the clear dimensions around doors. Include those interfaces in the scope so acoustic work does not leave unfinished perimeter details. Where a surface has been painted many times, consider whether differences in texture or sheen will require a wider decorative treatment.
Explain verification limits
An installation scope does not itself establish a measured acoustic rating for a finished room. A specific performance requirement may justify design advice and suitable field verification by an acoustic specialist. When building management controls access, agree delivery hours and common area protection before committing to a start or finish date.
Respect fire requirements
Acoustic changes should preserve any fire resistance required of the original separating assembly. Confirm compatible materials and details before adding layers or modifying the cavity. If the original finish is unusual, keep a small reference sample or a close photograph to support the discussion about blending and restoration.
Identify the noise path
Determine whether the main concern is airborne speech or vibration through the building structure. A useful assessment starts with the type of sound and the path it follows. When a quote includes multiple visits, ask what happens during each stage and when the room needs to remain undisturbed between coats.
Set realistic goals
Adding board alone does not guarantee a quiet room when sound travels through doors or adjoining cavities. Explain improvement goals at assembly level instead of promising that one product will make the interior silent. When the same defect has returned, share information about previous repair methods so the next assessment can consider why they did not last.
Address air leakage
Small gaps around edges and service penetrations can undermine an otherwise substantial wall. Include compatible sealing wherever it is required by the chosen sound control assembly. Where the quoted work stops before painting, request an explicit description of what remains so the next decorating stage can be priced realistically.
Include flanking paths
Sound can travel around a treated wall through ceilings, floors and adjoining partitions. A room level discussion helps explain why treating one surface may not resolve every noise complaint. Where several contractors share the renovation, identify the inspection and handover milestones that determine when each following stage can proceed.
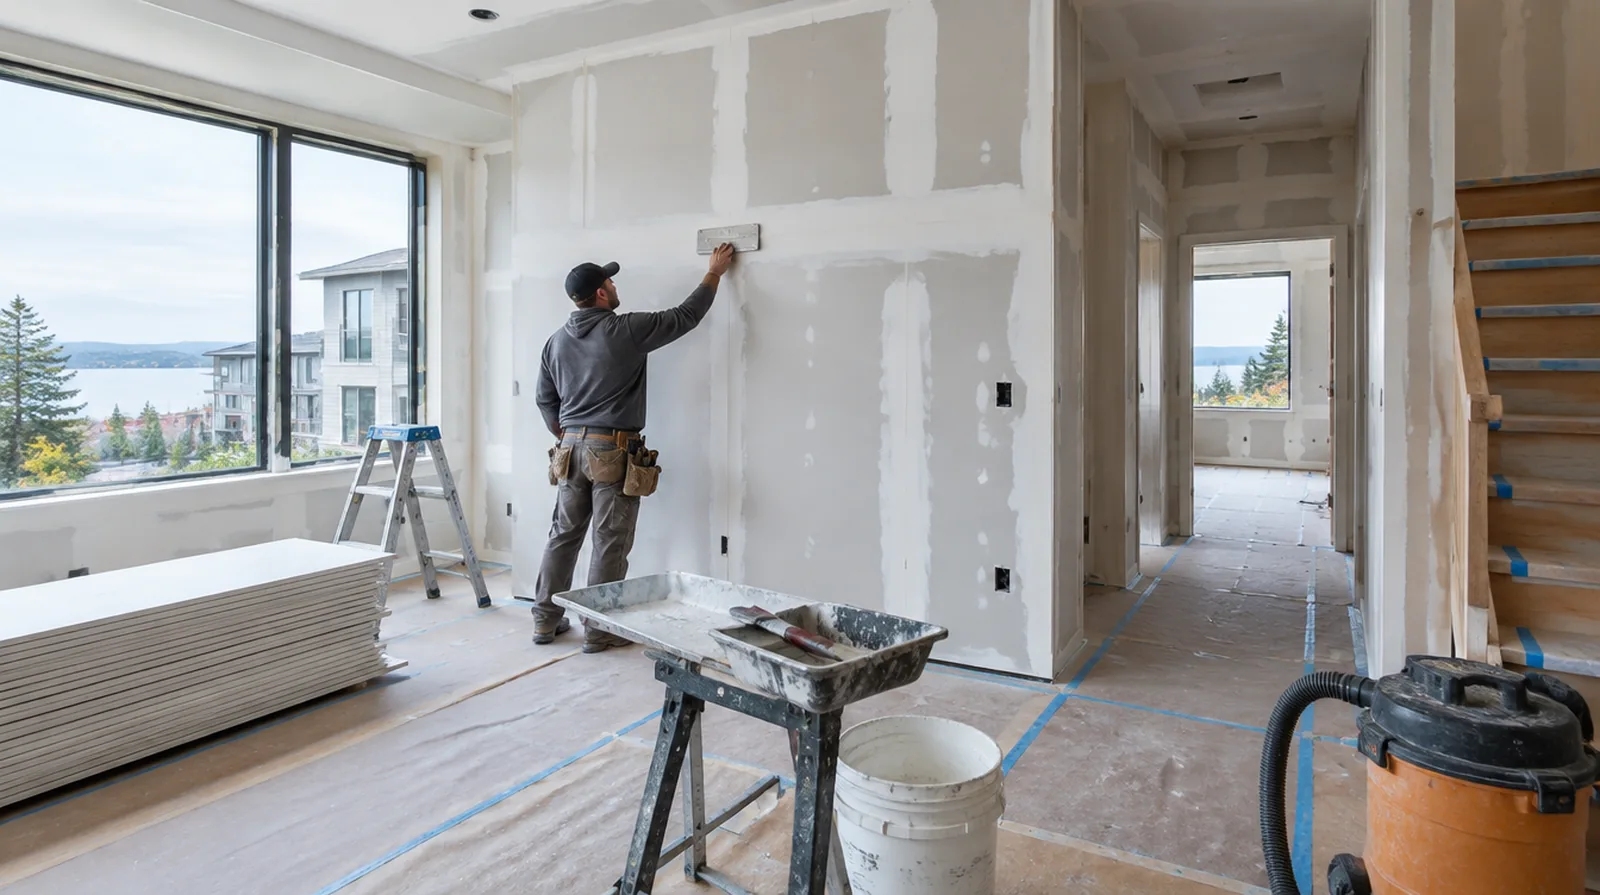
Finish the visible surface
The room side of an acoustic installation still needs suitable taping, finishing and coating preparation. Complete that work without disturbing the details on which the sound control system depends. If the current finish is unusual, keep a small reference sample or a close photograph to support the discussion about blending and restoration.
Review the whole assembly
Acoustic performance depends on framing, insulation, panel layers and perimeter details working together. Select a suitable tested or documented wall system rather than combining unrelated marketing specifications. When reviewing the finished work, use the agreed lighting and natural room viewpoints so the assessment reflects the intended use of the space.
Project context in Kirkland
Many new Kirkland homes have smooth Level 5 walls, which leave little room for visible patch edges. Shared driveways in Kirkland townhouse developments mean deliveries need a time that keeps neighbors moving.
Scope questions before finishing
If the project is part of a larger remodel, settle the sequence with flooring, trim and cabinet work before setting a final finishing date.
At a ceiling or wall containing fittings, assign removal and reinstatement duties for the affected devices before repair access is needed.
For a planned new wall mounted fixture, resolve its backing requirements while the cavity remains open instead of cutting into completed drywall later.
When a quote includes multiple visits, ask what happens during each stage and when the interior needs to remain undisturbed between coats.
If a room has only limited ventilation, discuss how the finishing materials can dry without disrupting comfort or spreading dust elsewhere.
If the current finish is unusual, keep a small reference sample or a close photograph to support the discussion about blending and restoration.
If the coating stability is unclear, assess which layers are adequately bonded and which should be removed rather than simply hidden beneath new material.
Where existing floors will remain, specify protective measures and review the path used by panels, equipment and finishing tools.
For an initial assessment from pictures, provide an overall room photograph and a detailed view of the defect so both context and scale are apparent.
In a room with little free floor space, identify temporary storage for belongings and establish adequate clearance for the work before delivery.
For a repair that crosses several surfaces, measure the affected planes separately so the estimate can explain where each finishing treatment starts and stops.
When reviewing the finished work, use the agreed lighting and natural room viewpoints so the assessment reflects the intended use of the space.
Explore the Kirkland drywall overview for related options, or read the project planning information before arranging the next stage.
More planning details for Kirkland
Skylights over Kirkland stairwells throw strong light down long walls and reveal small joint flaws. Painting the whole stairwell wall after a repair gives a more even finish under skylight glare. Afternoon traffic on I-405 makes morning visits easier for second and third coats in Kirkland.