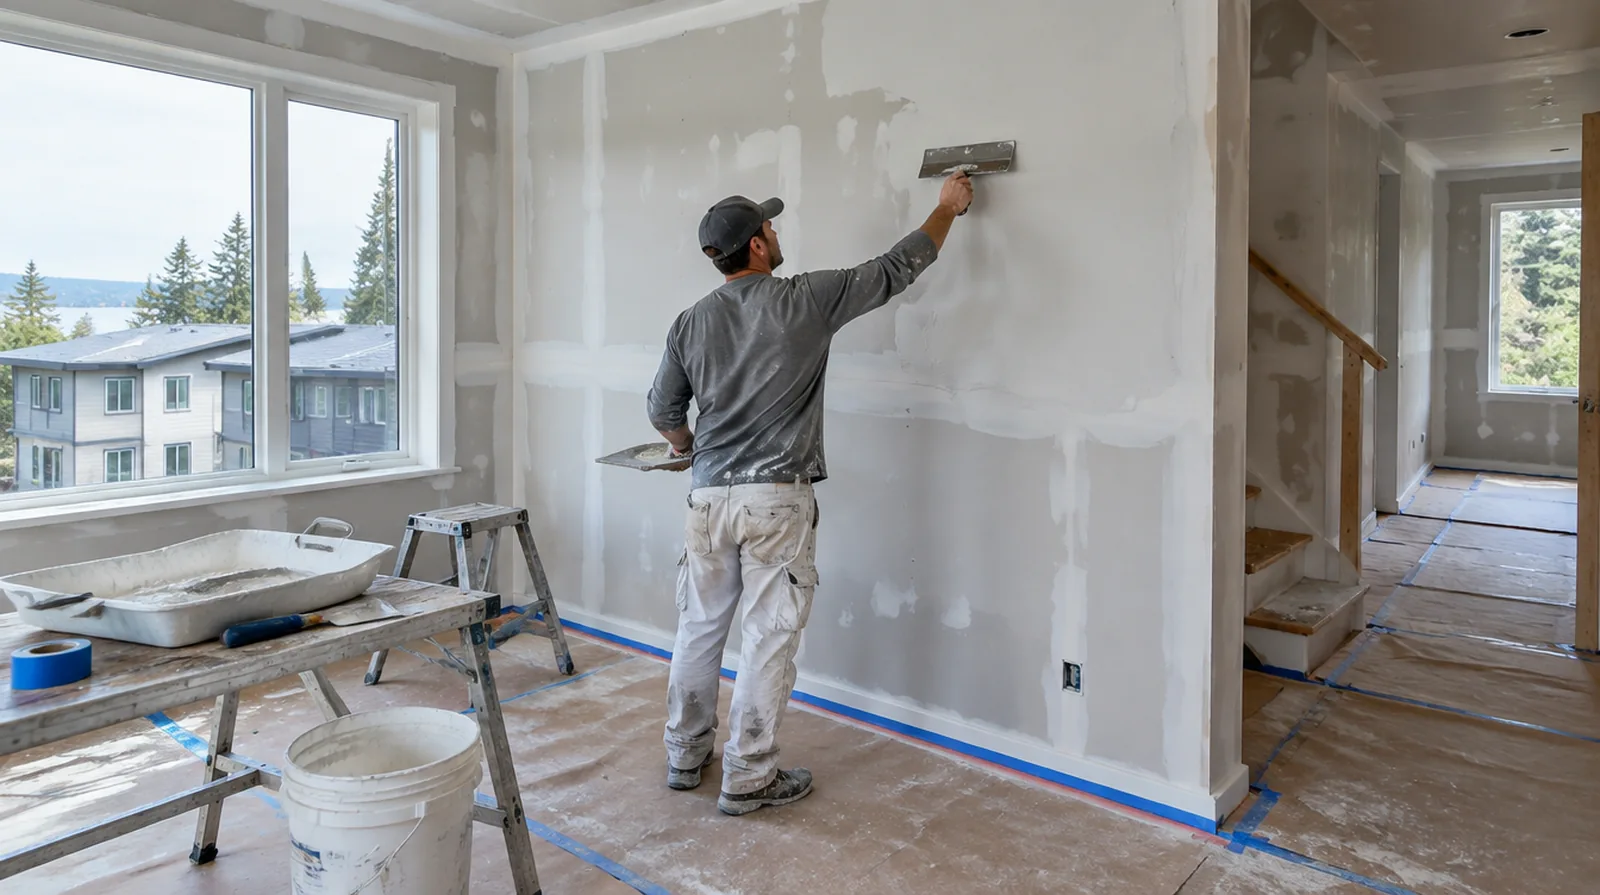
Prime before decoration
The new skim needs compatible priming before its final decorative coatings. Primer helps equalize absorption and may reveal small touch ups that should be resolved before the final coat. At the handover inspection, review the finish from ordinary room positions using the lighting conditions that were agreed for the work.
Clean and prepare the wall
Dust, grease and incompatible residues can interfere with adhesion. Select cleaning and any necessary bonding preparation according to the actual surface condition. If the existing finish is unusual, keep a small reference sample or a close photograph to support the discussion about blending and restoration.
Stabilize torn paper
Wet finishing material can lift damaged paper if the exposed area has not been suitably prepared. Stabilize those paper defects with an suitable treatment before beginning the broad skim application. For a limited patch requiring substantial setup, assess the complete package of access and protection rather than relating cost only to the opening size.
Assess the existing coating
A thin new finish depends on the strength of the coating that will remain underneath it. Separate peeling or poorly bonded material from a stable wall that merely needs smoothing. When the decorative coating has been selected, tell the finisher its intended sheen and color while the substrate preparation standard is still being agreed.
Choose paint with the finish
Higher sheen coatings can emphasize small variations that a matte finish makes less obvious. Discuss the final decorative plan before deciding how extensive the surface preparation needs to be. When the same defect has returned, share information about previous repair methods so the next assessment can consider why they did not last.
Check underlying movement
Surface refinement cannot stabilize framing movement or repair board that no longer holds securely. Assess recurring cracks and complete necessary reinforcement before covering the area with a skim. When comparing competing estimates, make sure their protection, surface finish and disposal allowances describe equivalent work before comparing the final prices.
Apply controlled thin layers
Build a refined surface with controlled applications rather than a heavy unsupported deposit. Deeper texture may require successive passes to level low spots without overloading the high points. When the history of a repair is uncertain, note when it became visible and whether its appearance has altered across differing seasons.
Work around trim carefully
Protect the junctions around frames, baseboards and fittings while planning how the new surface will meet them. Discuss whether removing trim is worthwhile or whether the finish will stop cleanly against it. If the coating stability is unclear, assess which layers are adequately bonded and which should be removed rather than simply hidden beneath new material.
Define the smoothing target
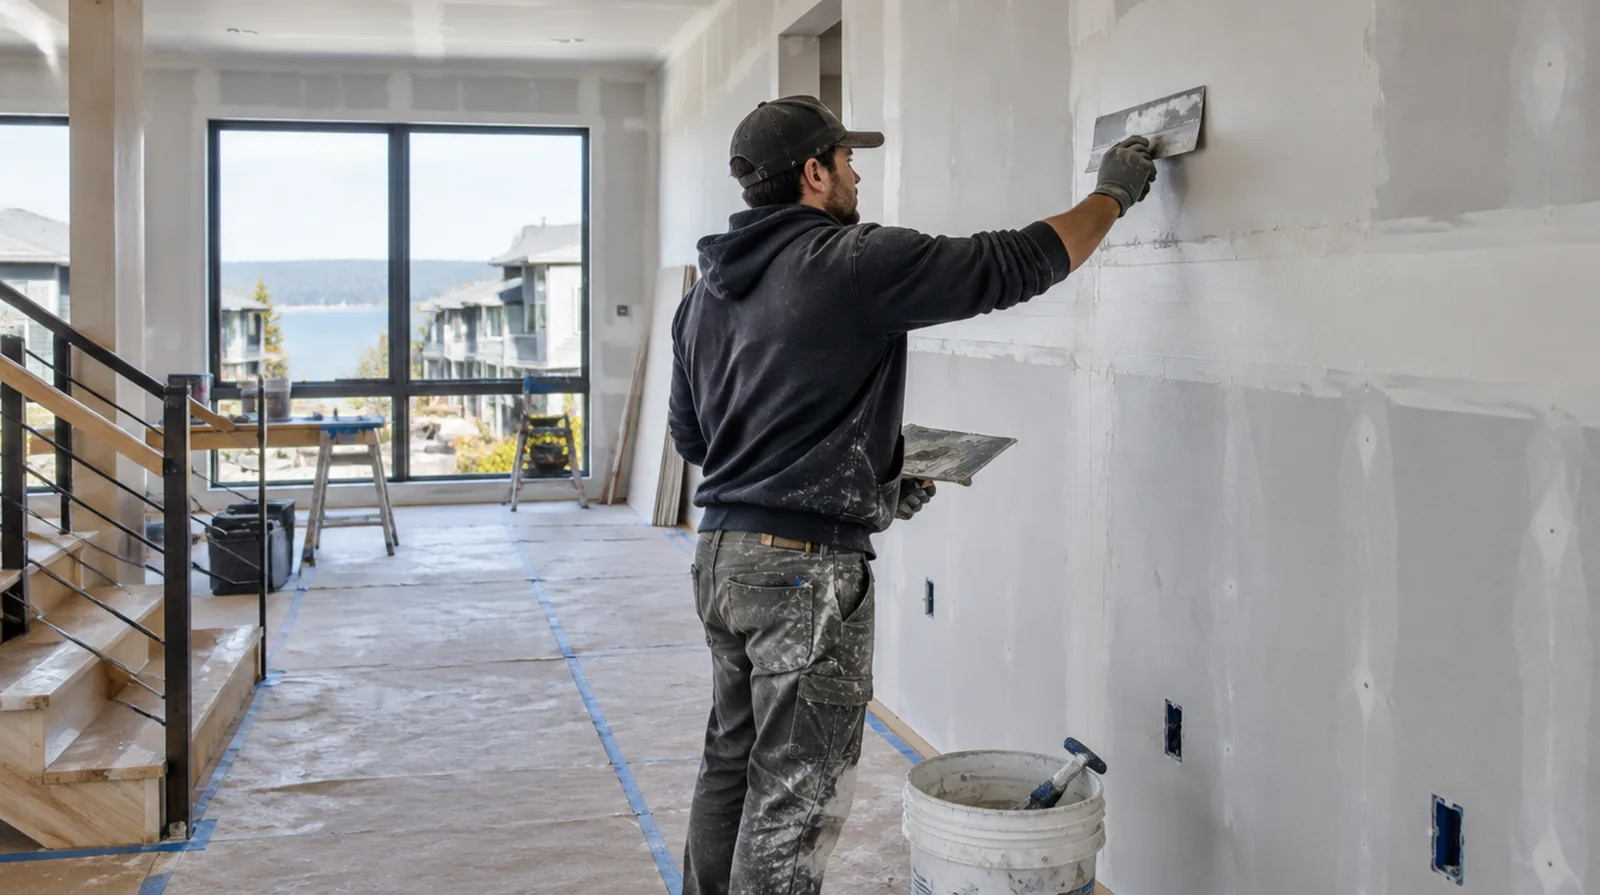
Flattening a light texture is distinct from correcting deep waves across an entire wall. Describe the expected improvement and any retained wall variation in the agreed finish scope. When panel replacement exposes a cavity, resolve any required inspection before that opening is closed and the finishing work begins.
Refine with minimal sanding
Good application reduces the amount of sanding needed to achieve a uniform finish. Even so, plan dust protection and extraction for the fine particles produced by broad surface work. For a tightly furnished room, plan temporary storage and the minimum working clearance before material is carried into the property.
Project context in Kirkland
Board should be carried in quickly and kept dry on a rainy Kirkland day before it is hung. Painting the whole stairwell wall after a repair gives a more even finish under skylight glare.
Scope questions before finishing
In a room with little free floor space, identify temporary storage for belongings and establish enough clearance for the work before delivery.
For a small repair with extensive setup, compare the total scope instead of assuming the price should follow the hole dimensions alone.
If a household member is sensitive to dust, discuss containment and cleaning expectations before choosing how to stage the interior work.
While a removed panel exposes the wall surface cavity, complete the necessary review of concealed work before replacement board closes the opening.
If a room has only limited ventilation, discuss how the finishing materials can dry without disrupting comfort or spreading dust elsewhere.
If the space will remain occupied, identify a practical separation between the project space and the space that still needs daily access.
For a room with restricted airflow, plan drying conditions alongside dust protection and the comfort of people occupying neighboring spaces.
For a project involving a building manager, confirm access hours and protection requirements before promising a start date or a short completion window.
If the finish paint is already chosen, share its sheen and color early because those choices influence how preparation of the surface is judged.
Where a future fixture will be installed, coordinate any required backing while the cavity is accessible rather than reopening the completed wall.
If there is a fixed move in date, reserve enough time for the coating stages after drywall work instead of counting only the installation period.
For a tightly furnished room, plan temporary storage and the minimum working clearance before material is carried into the property.
Explore the Kirkland drywall overview for related options, or read the project planning information before arranging the next stage.
More planning details for Kirkland
A stairwell repair over three flights needs safe access that protects the stair treads and railings. Kirkland's long rainy season keeps indoor air damp, so steady heat and a dehumidifier help compound dry between coats. Many new Kirkland homes have smooth Level 5 walls, which leave little room for visible patch edges.